Cross Stitch Terms Every Modern Maker Should Know
Ever looked at a cross stitch pattern and thought, “What on earth does WIP/Frogging/Full Coverage mean?” You’re not alone.
The cross stitch world is full of quirky jargon, abbreviations, and fabric numbers that can be confusing if you’re new to it (or if you’ve just never had someone explain them in plain English).
So, we’ve put together this no-nonsense glossary of cross stitch terms, explained simply, with modern stitchers in mind. Whether you’re working on one of our beginner kits or diving into something more witchy and mystical, you’ll be fluent in “stitch-speak” in no time.
Step 1: Setting Up Your Stitch
Before you start stitching, you’ll see terms like:
Aida – The go-to fabric for most kits, with a grid of holes to guide your stitches.
Count – The number of squares per inch on your fabric (14-count is beginner-friendly).
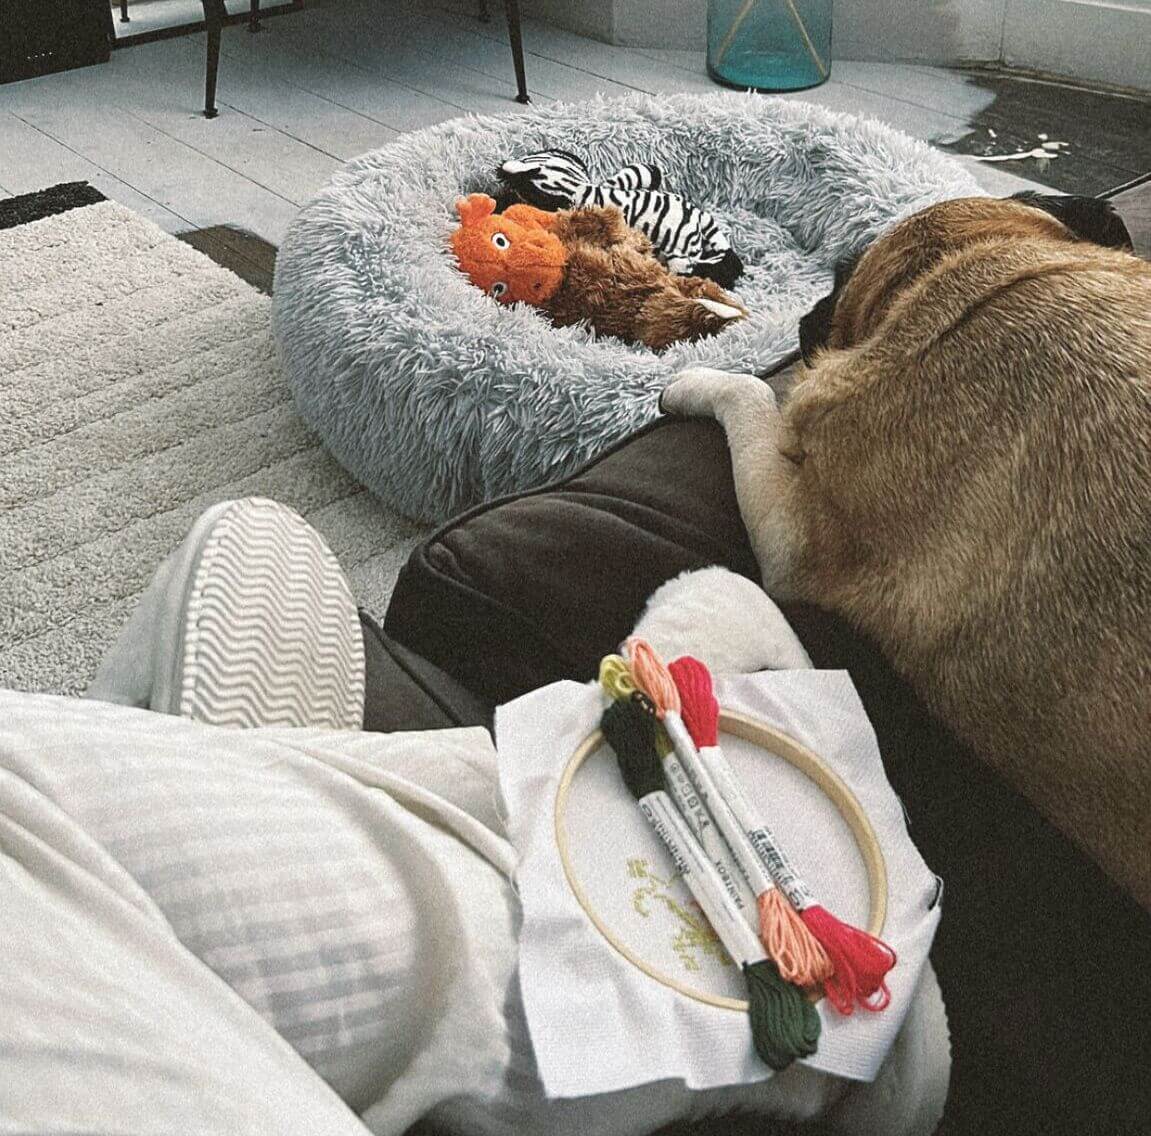
Hoop – A round frame to keep your fabric tight. Also doubles as a display frame.
Tapestry Needle – A blunt-tipped needle with a large eye, perfect for floss.
Step 2: Prepping Your Threads
You’ll often hear:
Floss / Stranded Cotton – The six-strand embroidery thread used in cross stitch.
Skein – The bundle your floss comes in.
Bobbins – Cards or spools to wind thread onto (to avoid tangles).
Needle Minder – A magnetic accessory that holds your needle when you’re not stitching. We love our Poison Bottle Needle Minder for spooky vibes.

Step 3: Reading the Pattern
Chart / Pattern – The grid you follow to create your design. Each square usually represents one stitch.
Symbols / Key – Each colour of thread is given a symbol on the chart, so you know which shade to use.
Motif – A single design element (like a bat, moon, or flower).
Full Coverage – A design where every square of the fabric is stitched.
Partial Coverage – A design where parts of the fabric are left unstitched (a modern trend that creates a lighter look).
Step 4: Stitching Techniques
Whole Cross Stitch – The classic “X” shape.
Half Stitch / Quarter Stitch – Used for detail or shading.
Backstitch – Straight lines stitched on top of your crosses to add outlines or detail.
French Knot – A small knotted stitch used for eyes, dots, or texture.
Frogging – The not-so-fun act of unpicking stitches when you’ve made a mistake. (So called because you “rip it, rip it.”)
Parking / Confetti Stitching – Advanced techniques for working with lots of colours in one area.
Step 5: Sharing Your Progress
If you join online stitchy communities, you’ll see lots of abbreviations:
WIP – Work In Progress
UFO – UnFinished Object (that half-done kit at the back of the cupboard)
SAL – Stitch-A-Long, where a group of stitchers all work on the same pattern
Step 6: Finishing & Display
Once you’re done:
Blocking – Stretching and pressing your piece to keep it flat.
Framing – Displaying your piece in a hoop, frame, or fabric mount.
And that’s it…from Aida to UFOs, you’re now fluent in stitch-speak.

How to Use This Glossary
Learning these terms makes picking your kit and following a pattern much easier. For beginners, look for:
-
14-count Aida (not too big, not too small)
-
Kits that come with all-in-one supplies (fabric, hoop, threads, needle, pattern)
-
Clear symbols and colour keys
Which, conveniently, is exactly what you get in every Innocent Bones kit 😉
