How to Read a Cross Stitch Pattern (Without Losing Your Mind)
If you’ve ever looked at a cross stitch pattern and thought, “Uhh… what am I looking at?”, you’re not alone.
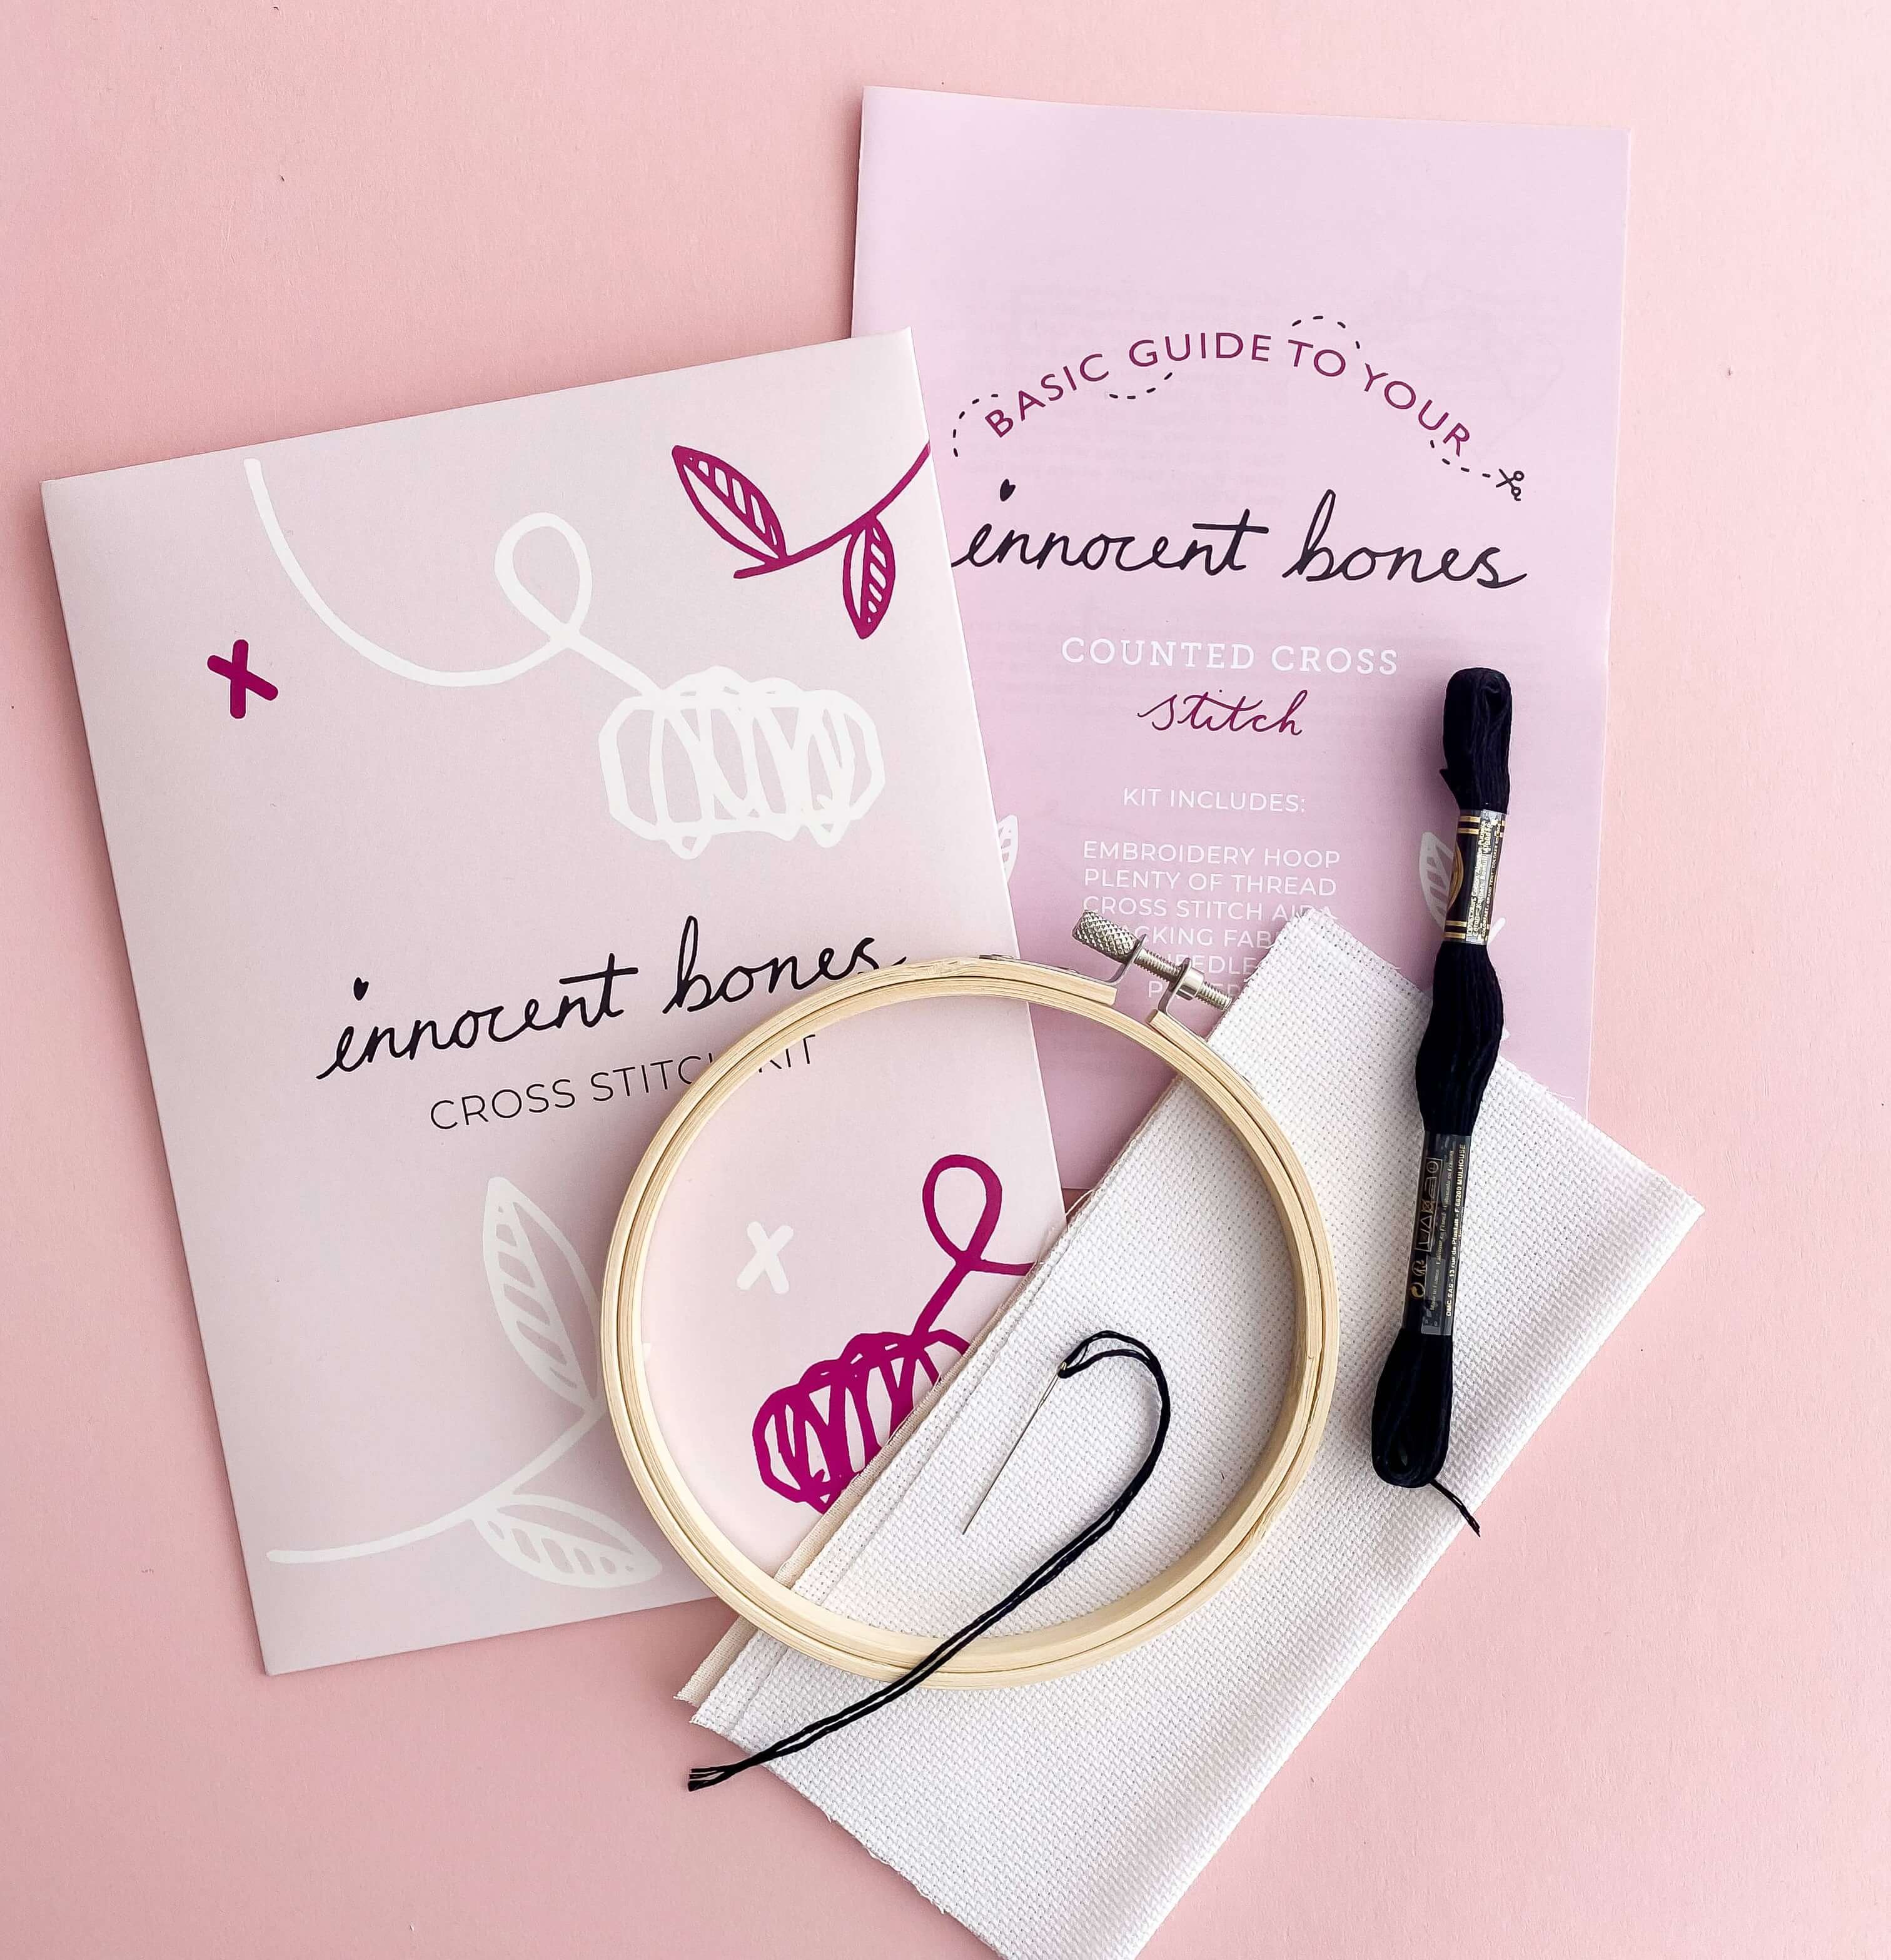
At Innocent Bones, we like to think of cross stitch as magical self-care disguised as crafting. But every spell needs a scroll, and that scroll is your pattern. So if you're new to stitching or just need a refresher, here’s a simple guide to help you understand what you’re looking at and how to get started.
What Is a Cross Stitch Pattern?
A cross stitch pattern is basically your treasure map, it tells you:
-
Where to place your stitches
-
What colour thread to use
-
How the final piece should look
It’s usually made up of:
-
A grid of squares (each square = one cross stitch)
-
A variety of symbols that each represent a different colour
-
A colour key or legend that matches symbols to thread colours
-
Sometimes a picture of the finished design
Let’s break it all down.
Step 1: Get to Know the Grid
Think of the pattern grid as your stitching canvas on paper. Each square on the grid represents one cross stitch on your fabric. Some designs might show backstitch lines or French knots too (but don’t worry, our kits are beginner-friendly!).
💡 Top Tip: Patterns are often printed in black and white or colour with symbols, so don’t rely on colour alone...always check the symbol too.
Step 2: Understand the Symbols
Each symbol on the grid corresponds to a specific thread colour. These symbols help distinguish between similar colours (because let’s be honest, there are only so many shades of dusty pink you can remember at once).
You’ll find a key or legend next to the pattern. It might look like this:
|
Symbol |
Thread Colour |
Brand |
|
● |
Black |
DMC 310 |
|
▓ |
Dark Grey |
DMC 317 |
|
♡ |
Light Pink |
DMC 761 |
This is your go-to reference when stitching.
Step 3: Locate the Centre
Most patterns have arrows along the top and side, these meet at the centre of the design. Finding the centre helps you start stitching in the middle, which gives your design the best chance of being nicely positioned on the fabric.
🧵 Pro Tip: Fold your fabric in half both ways to find the centre point, then start from there!
Step 4: Match Your Threads
Your Innocent Bones kit will include all the pre-cut threads you need, usually sorted on a thread card with matching colour codes. Match these to your pattern’s legend and you’re ready to roll.
Step 5: Start Stitching!
Start from the centre, follow the pattern square by square, and use the legend to match the correct colour.
There’s no rush, cross stitch is all about slowing down, zoning out, and enjoying the process.
Extra Things to Look Out For
🪡 Backstitch lines: These are usually drawn as straight or curved lines across the grid and added after the main cross stitching for extra detail.
🌟 French knots or embellishments: Often marked with a special symbol or note, these are the little extras that give your piece character.
Final Thoughts
Once you’ve read a pattern once or twice, it starts to feel second nature. And remember: cross stitch is meant to be fun and calming, not stressful! If in doubt, check the legend, take a breath, and stitch at your own pace.
Still feeling unsure? Drop us a message or check out our beginner kits, they’re designed to ease you in gently.
