Stitch Like a Pro: Essential Cross Stitch Techniques Every Stitcher Should Know
Whether you’ve just picked up your first kit or you’ve been stitching for years, mastering a few key cross stitch techniques can make your projects smoother, neater, and even more relaxing.
Here’s a quick guide to the basics (and a few expert tricks) that will help you get the best results from every project.
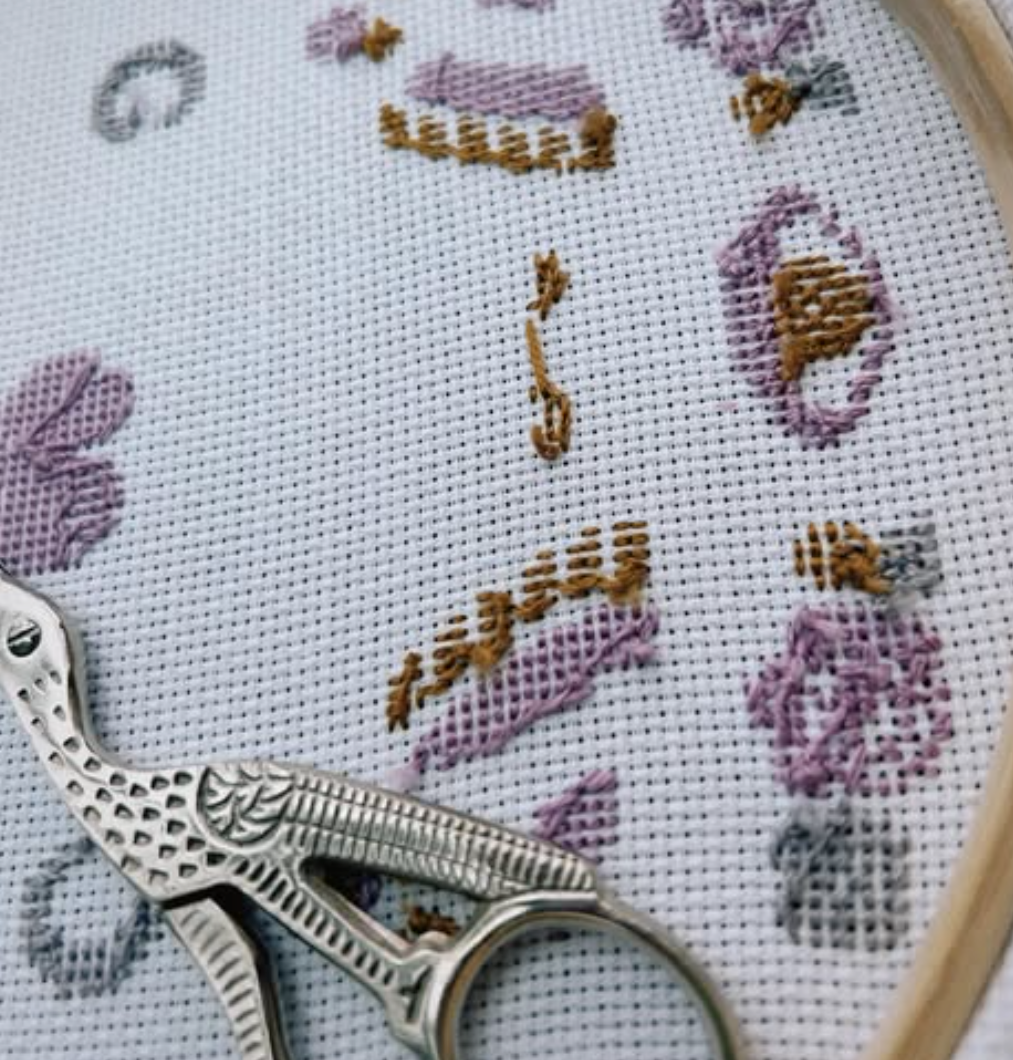
1. The Classic Cross Stitch
Let’s start with the stitch that started it all, the humble X.
Each stitch is made up of two diagonal stitches crossing over each other, forming that satisfying grid of tiny Xs.
How to do it:
-
Bring your needle up through the bottom left hole.
-
Go down through the top right hole.
-
Then bring your needle back up through the bottom right and down through the top left.
That’s it! Try to keep all your top stitches facing the same direction…it’ll give your finished piece a neat, uniform look.
2. The Half Stitch
Sometimes a pattern calls for softer shading or subtle detail, that’s where the half stitch comes in.
Instead of making the full X, you’ll just make the first diagonal. It’s a quick way to fill space, create gradients, or add dimension to your work.
Pro tip: Use half stitches sparingly; they’re perfect for backgrounds, shadows, or delicate designs like moons and florals.
3. The Quarter Stitch
Quarter stitches are exactly what they sound like, a smaller version that covers just one-quarter of the square on your Aida fabric. They’re useful for curved shapes or fine details, like faces, eyes, or script.
Because they land between the fabric holes, they can feel fiddly at first, but don’t stress, it’s all part of the fun.
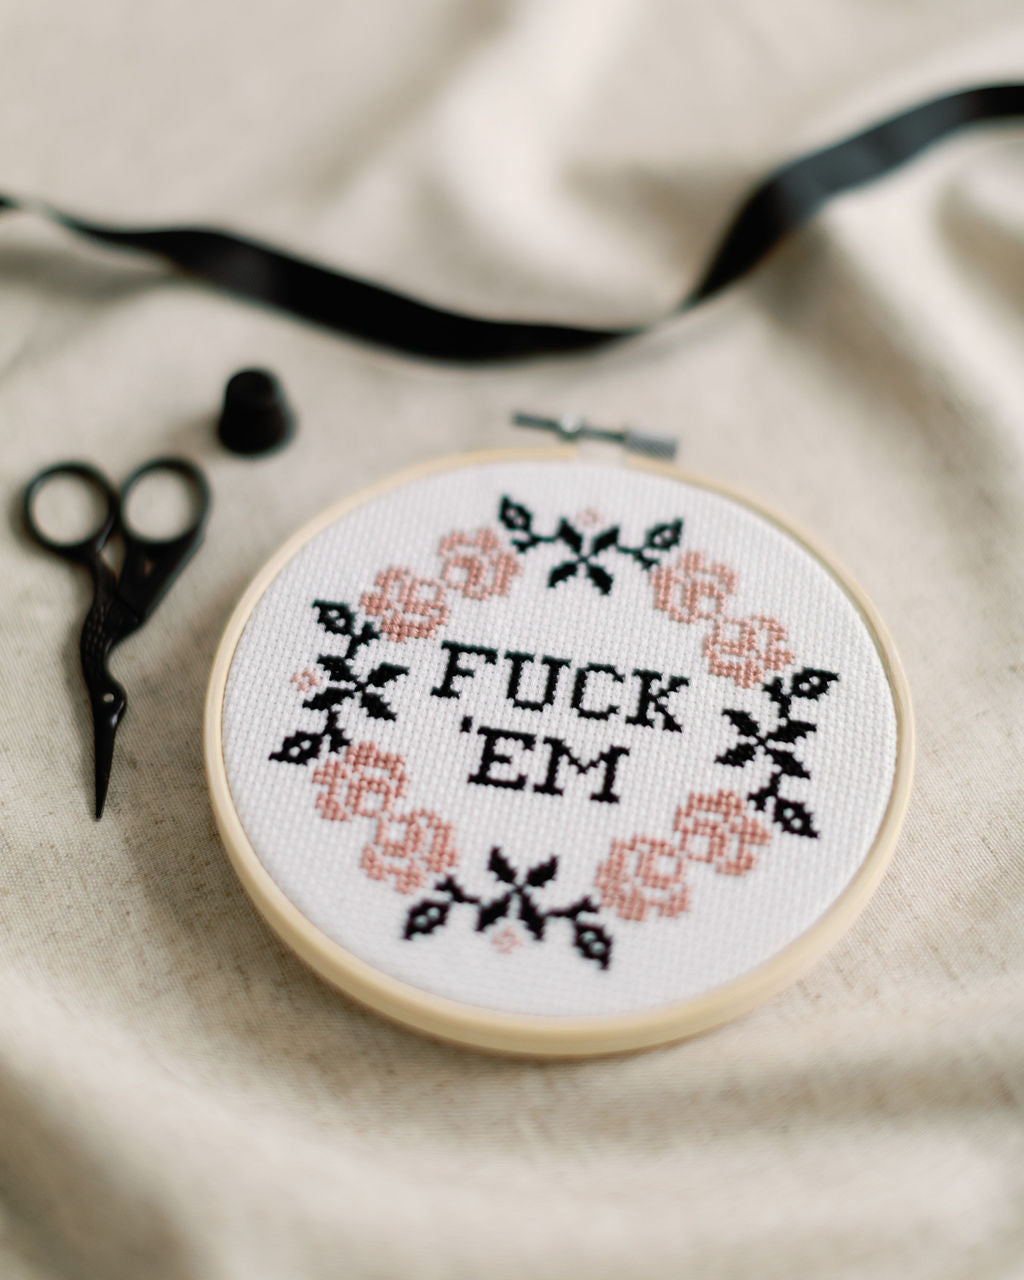
4. The Backstitch
The backstitch is the unsung hero of cross stitch, it’s what gives outlines and details their crisp definition.
You’ll often find it used for lettering, borders, or to make parts of your pattern stand out.
How to do it:
Bring your needle up where the line begins, move forward one stitch length, and then go back into the previous hole. Continue like this to form a smooth, clean line.
5. The French Knot
If you’ve ever seen little textured dots or eyes in a pattern, that’s a French knot. It adds depth, texture, and a touch of elegance to your finished piece.
How to do it:
-
Bring your needle up through the fabric.
-
Wrap your thread around the needle twice.
-
Hold the tension as you push the needle back down close to where it came up (not the same hole).
A bit tricky at first, but once you’ve nailed it, they’re oddly satisfying.
6. The Running Stitch (for Finishing)
While not part of your main design, the running stitch is handy for finishing your project neatly…especially when backing your work in the hoop.
It’s a simple in-and-out stitch around the edge of the fabric that gathers and secures your piece perfectly.
(You can see a full tutorial on this in our How to Back and Frame Your Cross Stitch guide.)
🕯️ Bonus Tips for Beautiful Stitching
-
Keep your thread length short. Around the length of your forearm works best - less tangling, smoother stitches.
-
Work under good light. Natural light or a clip-on craft lamp will save your eyes and your sanity.
-
Mind the tension. Don’t pull your stitches too tight, they should lie flat without puckering the fabric.
-
Wash & press carefully. Always iron on the back, with a soft cloth between your work and the iron.
Ready to Practise?
If you’re itching to put these techniques into action, every Innocent Bones cross stitch kit comes with:
-
A full-colour printed pattern
-
The perfect-sized needle
-
A wooden embroidery hoop
-
Pre-cut threads (so no tangles!)
-
And a detailed guide that walks you through every step
Explore our beginner-friendly kits or try something bolder from our witchy and tarot collections.
